Knead Some Dough
Once the starter has peaked, it is now time to make the dough. Plan on doing this step about 16 hours before you actually want to serve the bread. I usually do this at bedtime and let the dough rise all night. In a stand mixer or bread machine, combine the following ingredients:
- 3 cups (375g) of bread flour
- 1/2 cup (60g) of active starter
- Up to 1-1/2 cups (325ml) of water (see text)
- 1-1/2 teaspoons of salt
- OPTIONAL: 1 tablespoon (15ml) of butter.
This recipe will yield a loaf approximately 2 pounds (1 kg) in size. If you need to make more or less bread, scale the above ingredients accordingly. The butter is optional- it will make the interior more soft/chewy and increase the shelf life, but the crust will be less crispy. If you are a beginner, skip the butter.
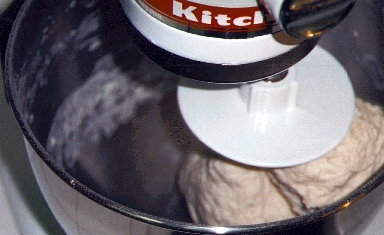
If you are using a stand mixer, combine the flour, starter, butter, and 3/4 cups of water in the bowl. Knead the dough using the kneading attachment on the lowest speed and knead for about 3-4 minutes. The dough will look very dry. The key to good sourdough is the wetness of the dough. If at this point the dough is so dry that it won't even form a small ball, then add another 1/4 cup of water and knead another minute or so. Now turn the mixer off for 30 minutes. This will allow the water to fully absorb into the flour.
After 30 minutes, turn the mixer back on and add the salt. Knead a few more minutes. The dough should be in a form of a slightly lumpy ball. The dough should just barely stick to your fingers. If it is too wet, add a tablespoon (15 ml) or two of flour and knead for another minute or two.
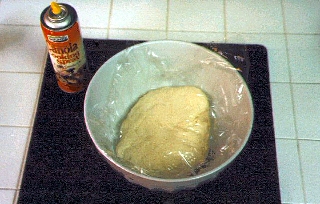
After kneading, place the dough ball in a bowl. Put a piece of plastic wrap over the bowl. This prevents the dough from drying out during rise. Cover the bowl with a dark kitchen towel.
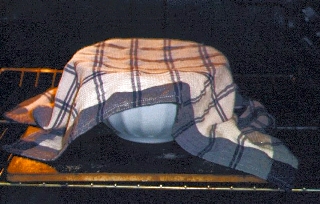
I usually let it rise all night, so I just set it on the kitchen counter. You can also place the bowl in the refrigerator if your not ready to bake in 4-8 hours. Once you go through this a couple of times you will get a feel for how long it takes. The dough ball should double or triple in size. probably filling the bowl to its brim. At this point, you are now ready to form the dough.
Form the Loaf
The dough should now be expanded, filling most of the bowl, be full of air, and somewhat wetter then when you last handled it. Remove the plastic wrap and turn the bowl upside down over a floured surface. The dough may collapse and sink down into a flat mess. Don't worry about this.
Sprinkle the top of the dough with some flour and knead the dough gently by pulling some out by the sides and over the top. Do not smash the dough or knead it the traditional way because you want to preserve the smaller air bubbles throughout the dough ball. The whole process shouldn't take more that a few minutes. If it is sticking to the surface add a little more flour. As you finish, knead the dough into a small round ball by stretching the dough around the front and pinching it closed around the back.
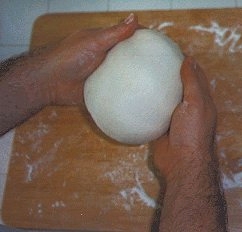
At this point, you need to decide whether or not you want to give the dough a second rise. A second rise will increase the sour, tangy taste. I recommend that beginners do not do a second rise because if the yeast is almost exhausted, it won't rise properly. A second rise is done in the exact same way. Place the dough back in the bowl and cover with the plastic wrap, then cover the bowl with a towel. The second rise usually takes at most, half the time of the first rise. The dough will once again expand filling most of the bowl. Remove the dough from the bowl and do the same procedure. Place onto a floured surface once again and punch down as before. Now form the dough into a ball. To do this, lift the dough from its sides and fold it back to form a ball. Stretch the dough slightly across the front, while tucking it towards the back. Pinch the back of the dough ball to seal the seams. With a little practice, you can turn the dough into a smooth round ball.
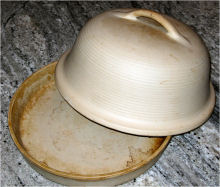
The Bake ware
The way to make French and other Artisan breads with a crispy crust is to allow humid, steamy air to surround the loaf during baking. The best way to do this (short of owning your own stone oven) is to use a stoneware or earthenware baking bowl. These are sold online and at many kitchen shops and cooking stores. The one I use is called the Sassafras La Cloche Brick Oven. They are basically a deep dish pan and cover made of fired clay. I have also seen some made of metal, which I'm sure will work just as good.
The first few times that you use the stone bake ware, spray the inside of the dish with some cooking oil to prevent sticking of the dough. In time, it will naturally become a non-stick surface. Never clean the stoneware using soap. Just scrub lightly and rinse out using hot water.
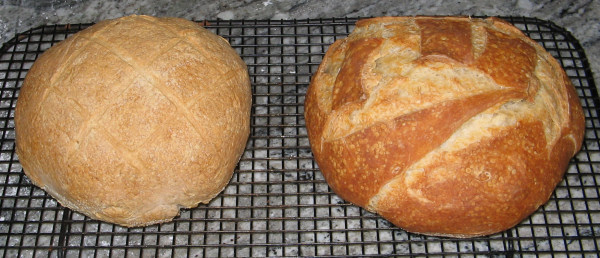
The stoneware bowl is a must-have item and you can't bake artisan bread without it. Below is a comparison of bread baked in stone (right) versus baked on a cookie sheet (left). What I did is made 4 pounds of sourdough and divided it into two loaves. the results are amazingly different, considering that this is the exact same dough and the exact same cooking times.
Bake Away
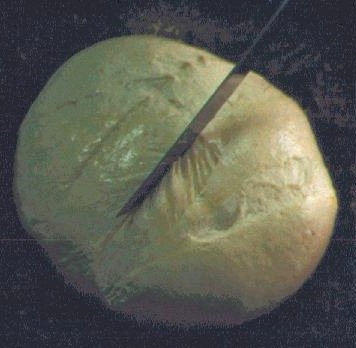
Place the clay baker in the oven and heat to 450F (230C). Carefully remove the clay baker from the oven. Optionally, you can sprinkle some yellow corn meal on the bottom. Place the round ball of dough in the center of the baker. Using a sharp knife or a lam, make 3 or 4 slashes about 1/4 inches deep across the top of the loaf about an inch apart. Make the same 3 or 4 slashes at right angles, forming several squares on the top of the loaf. If the loaf has dried out slightly on top, the knife may drag against the dough causing it to tear. A little cooking oil on the knife blade will make it cut smoothly through the dough.
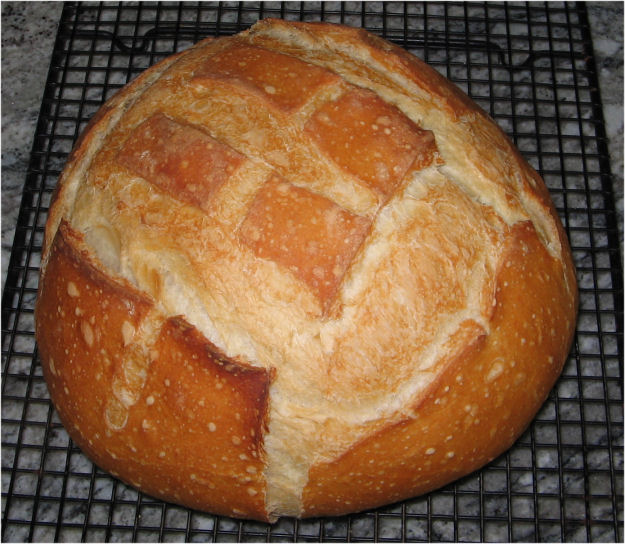
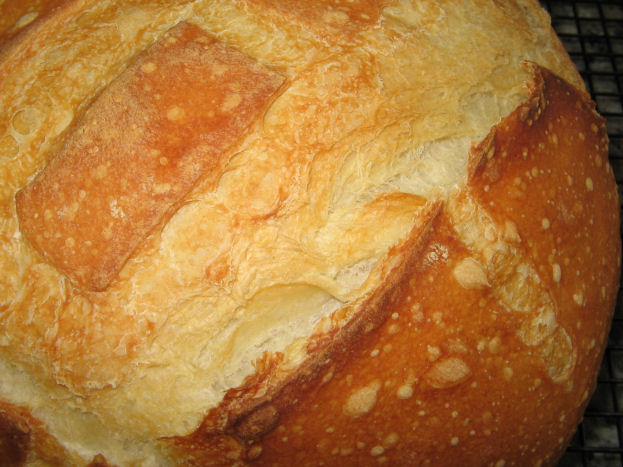
If have a convection oven, use the convection setting. Bake fore 30 minutes. Now lift the lid and check the loaf. It should be very light brown in color. If not, put the lid back on and bake an additional 5 minutes. Now remove the lid, reduce the heat to 375F (190C) and bake an additional 5-10 minutes until the loaf turns a dark, golden brown.
Move the loaf to a cooling rack and let it cool at least 30 minutes. Break out the butter and enjoy!
Well, I tried your method but my loaf doesn't come out like yours.
![]()
![]()
![]()
Copyright (c)1998-2018 Joe Jaworski. Reproduction by any means is strictly prohibited without permission.